A Beginner’s Guide to Coffee Cupping
Now if you were like me 1 week ago, you dont know what coffee cupping is or maybe your a big fan of it,
personally i think it’s a great way to have a party, simply put coffee cupping is when you deeply taste the coffees together and make an evaluation,
Or as wikipedia explains it “the practice of observing the tastes and aromas of brewed coffee”
To a tasting partys trying out different recipes and variants, and as someone who has worked in the kitchen for close to 5 years now,
tasting is the most important skill, and tasting the food with others chefs and discussing was always one of my favorites parts except for the cooking of course,
but this process also applies to baristas and bartender with their different drinks,
Now let me dive in in a bit more of detail to explain to you more about the important aspect of coffee cupping,
What is Coffee Cupping?
Coffee cupping is a simple way to taste and judge the flavors, smells, and overall quality of coffee. It’s something coffee roasters, experts, and even regular coffee lovers like us use to compare different coffees.
Why does this matter? Because not all coffee tastes the same. Some beans are full of fruity flavors, while others might have rich, earthy tones. Cupping helps you spot these differences and discover which coffee matches your taste best. It’s like being a coffee detective—each cup has its own unique story to tell!

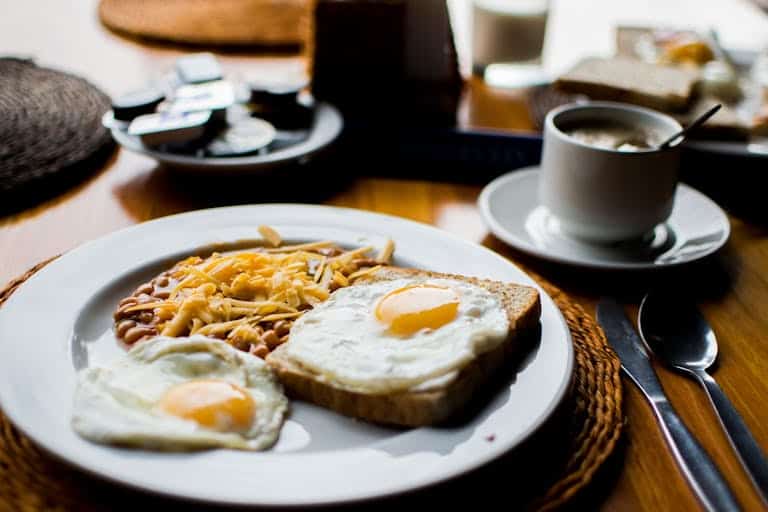
The Basic Setup for Coffee Cupping
Before we dive into the tasting part, let’s first talk about the setup. Don’t worry, you won’t need any fancy equipment—just some basics to get you started.
What You’ll Need:
- Freshly roasted coffee beans (try to get at least two or three varieties for comparison)
- A coffee grinder (burr grinders are preferred for uniformity)
- Hot water (ideally around 200°F or 93°C)
- Cupping bowls or cups (about 6-8 oz capacity)
- Cupping spoons (you can use soup spoons)
- A timer
- A tasting spoon (or a regular spoon will work too)
Step-by-Step Process for Setting Up:
- Grind the Coffee: Use a medium-coarse grind, similar to what you’d use for a French press. Grind about 12 grams of coffee per cup you’re preparing.
- Smell the Dry Coffee Grounds: This is the first sensory checkpoint. Take in the aroma of the freshly ground beans. Does it smell fruity? Nutty? Floral? Write down any initial thoughts.
- Add Hot Water: Pour your hot water directly onto the grounds in each cup, making sure all the grounds are evenly wet. You’ll want to use about 200 ml of water for every 12 grams of coffee.
- The Crust: After pouring water, a thick crust of coffee grounds will form on the surface. Let it sit for about 4 minutes.
- Break the Crust: Using your cupping spoon, gently push through the crust and take a big sniff—this is when the aroma really opens up. Keep your nose close to the cup and take note of what you smell.
- Skim the Grounds: After breaking the crust, you’ll notice the grounds floating on top. Skim these off with your spoon, so only the liquid remains.
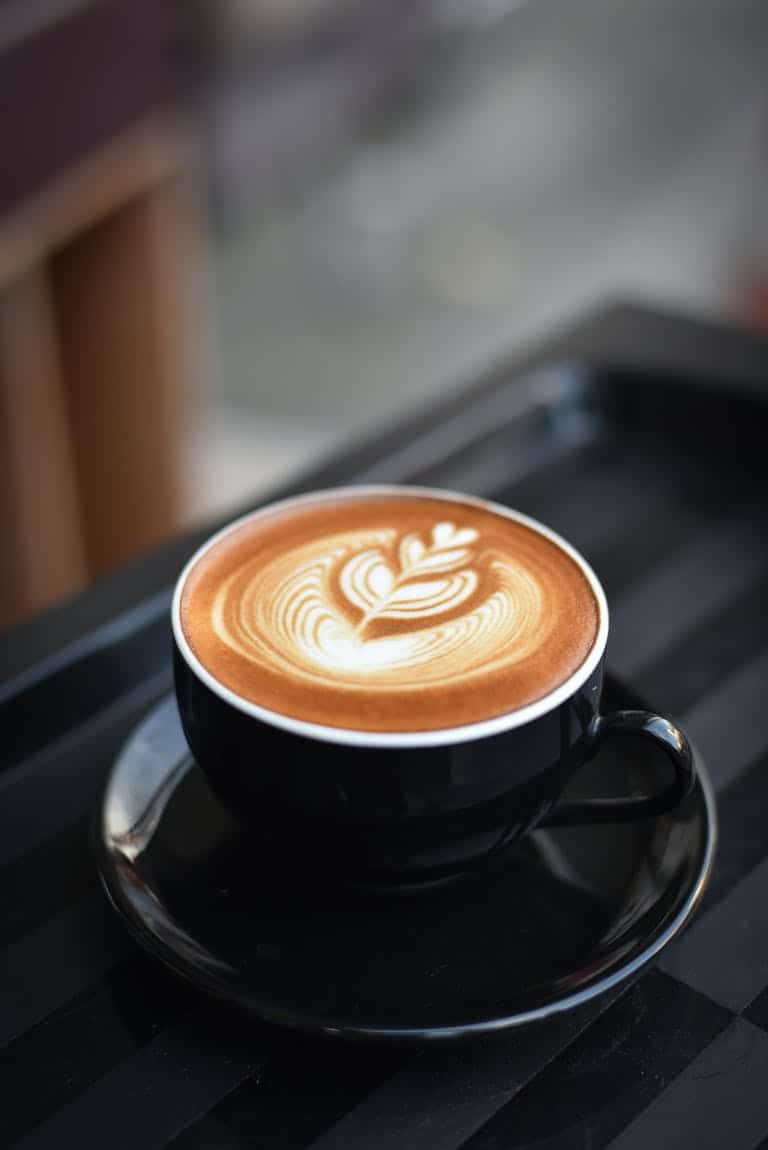
- Cool and Sip: Let the coffee cool for a few minutes. Once it’s ready (usually around 10-12 minutes after pouring), take a spoonful and slurp! Yes, slurp. The reason for this is to aerate the coffee, which helps to spread the flavors across your palate.
Now that you’ve got the basic process down, let’s move on to the fun part—the tasting!
Understanding Coffee Tasting Notes
Key Elements to Focus on During Coffee Cupping
When you’re cupping, there are a few important things to pay attention to. Each one helps define the coffee’s unique taste and feel. Here’s what to look for:
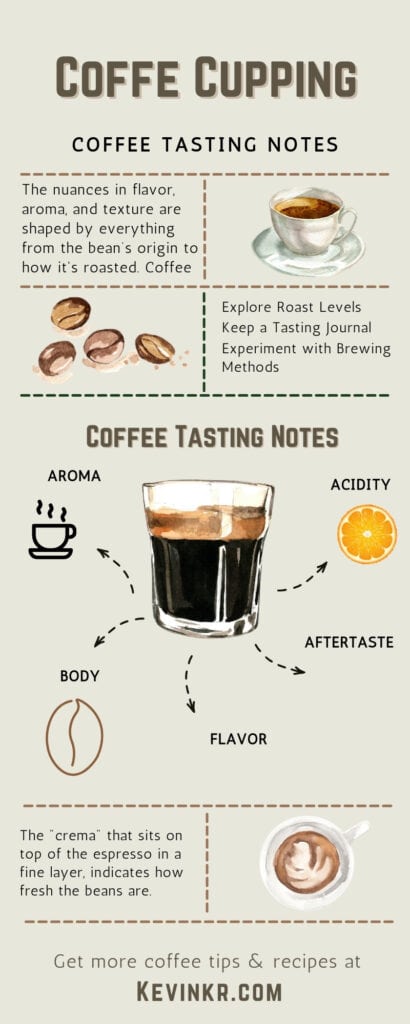
1. Aroma
Aroma is the first thing you notice about the coffee. It gives you a clue about its flavor profile. Smell the coffee right after grinding, while breaking the crust, and once it’s cooled a bit. Does it smell sweet? Do you pick up hints of fruits or flowers?
2. Acidity
In coffee, acidity doesn’t mean sourness. It refers to the brightness or sharpness in the flavor. Coffees with high acidity often have citrus or fruity notes, while lower-acidity coffees feel smoother or rounder. Think about whether the acidity is balanced or too strong.
3. Body
Body is how heavy or thick the coffee feels in your mouth. Some coffees are light and delicate, like tea, while others are creamy and full. Does the coffee feel light, or does it have a rich, lasting presence?
4. Flavor
Flavor is the most detailed part. It includes the main tastes like sweetness, bitterness, and sourness, as well as more subtle notes. Coffee can taste fruity, floral, nutty, chocolaty, or earthy. Write down every flavor you notice, even if you’re unsure at first.
5. Aftertaste
Aftertaste is how long the coffee’s flavor lasts after you swallow. Does it disappear quickly, or does it linger? Is it smooth, or does it taste bitter? The aftertaste can tell you a lot about the coffee’s overall quality.
How to Practice Coffee Cupping at Home
If you’re like me, you’ll probably want to try coffee cupping at home. And you should! It’s a great way to explore different coffees and train your palate. Here’s how you can start your own home cupping sessions.
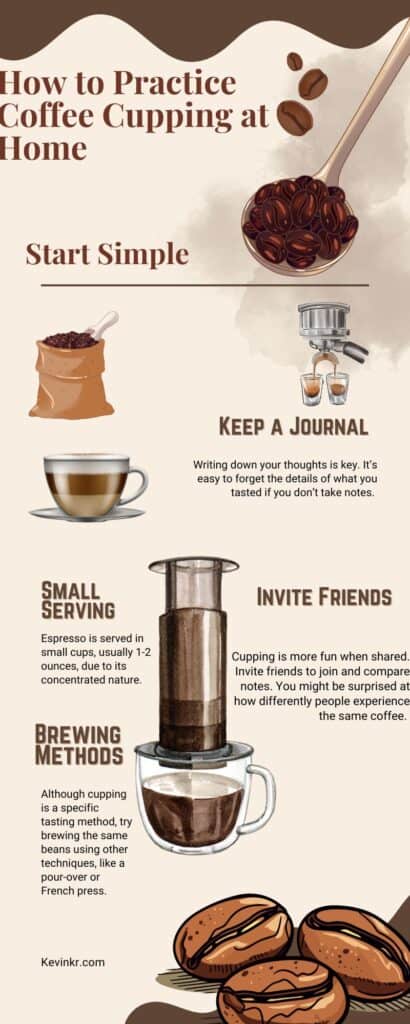
Start Simple
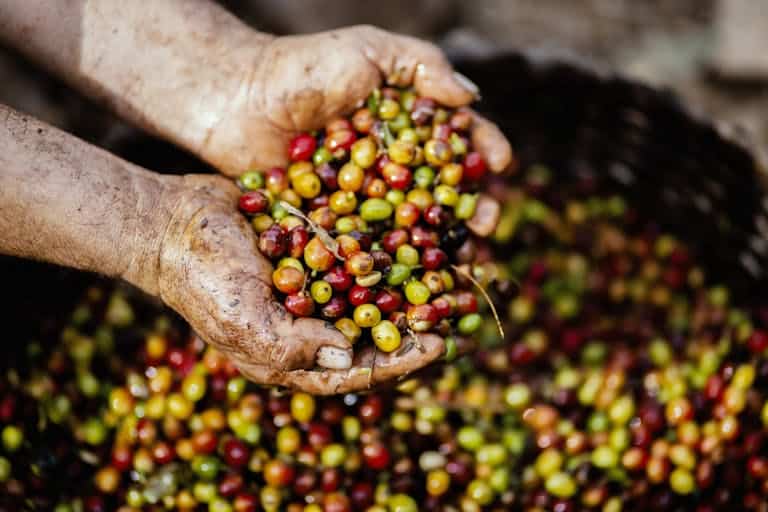
Begin with just two or three different coffee varieties. You don’t need to have ten cups on the table to get the hang of things. Look for different roast levels (light, medium, dark) or beans from different regions (Ethiopia, Colombia, etc.).
Keep a Journal
Writing down your thoughts is key. It’s easy to forget the details of what you tasted if you don’t take notes. Start a small notebook and record what you smell, taste, and feel for each coffee. Over time, you’ll notice patterns and figure out which types of coffee you prefer.
Invite Friends
Cupping is more fun when shared. Invite friends to join and compare notes. You might be surprised at how differently people experience the same coffee. Plus, you’ll learn from each other and pick up new insights!
Experiment with Brewing Methods
Although cupping is a specific tasting method, try brewing the same beans using other techniques, like a pour-over or French press. You’ll notice that the same coffee can taste different depending on how it’s brewed. Experimenting like this helps deepen your appreciation for the beans.
Why Coffee Cupping is Important
You might wonder, why put in all this effort? Can’t I just drink my coffee and enjoy it? Absolutely! But cupping helps you see coffee in a whole new way. You start to notice the complexities in each cup, from how it was grown to how it was roasted and brewed.
For coffee professionals, cupping is crucial for quality control. Roasters use it to check consistency in their beans, and coffee buyers use it to decide which beans to purchase. For the rest of us, it’s a fun way to enhance our love for coffee and discover new favorites.
DONT do these mistakes – Thank you
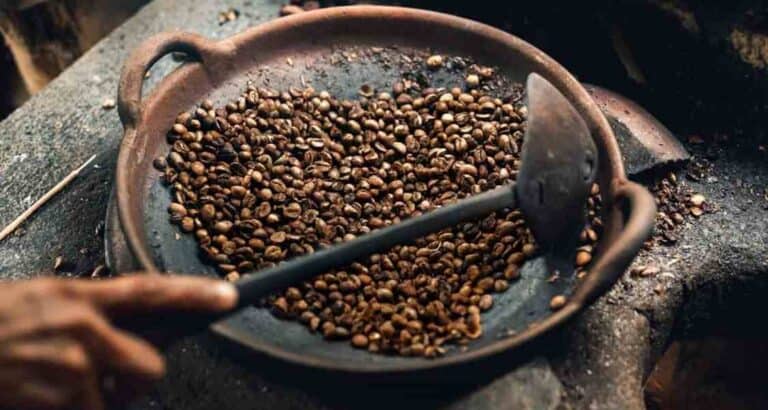
1. Not Grinding Fresh Coffee
Always grind your coffee right before cupping. Pre-ground coffee loses many of its essential oils and flavors, which can take away from the overall experience.
2. Inconsistent Water Temperature
Water that’s too hot or too cold can mess up the flavors you’re trying to taste. Stick to the ideal water temperature of 200°F (93°C) for the best results.
3. Skipping the Aroma
Don’t rush straight into tasting! Smelling the coffee at different stages is key to understanding its complete flavor profile. Take your time with the aroma.
4. Not Cleansing Your Palate
To avoid mixing flavors, cleanse your palate between each cup by drinking water or eating a plain cracker. This way, you can fully taste each coffee on its own.
Frequently Asked Questions (FAQs)
1. What makes coffee cupping different from regular tasting?
Coffee cupping uses a specific method to standardize the process, making it easier to compare different coffees fairly. Regular tasting might be less structured.
2. Can I use a regular spoon for cupping?
Yes! While professionals use special cupping spoons, a regular soup spoon works just fine for home cupping.
3. How often should I practice cupping?
As often as you like! The more you cup, the better you’ll become at recognizing different flavors and aromas. Even once a week can help improve your skills.
4. Do I need special equipment for coffee cupping?
Nope! While some professional tools can make it more fun, all you really need is fresh coffee, hot water, and a spoon to get started.
5. Can I cup flavored coffees?
It’s best to avoid flavored coffees during cupping. Flavors can hide the natural qualities of the bean, so stick to unflavored beans to truly experience their unique profiles.
Conclusion: Your Next Steps in Coffee Exploration
Coffee cupping might sound like something only professionals do, but anyone who loves coffee can give it a try. It’s a fun way to explore the journey of the coffee bean, from farm to cup, while discovering the unique flavors of different beans and regions.
Ready to start your own cupping adventure? Grab a few bags of beans, invite some friends, and dive into tasting. With each session, you’ll get better at noticing the complexities in your coffee—and who knows, you might even find a new favorite!
Let me know how your first cupping session goes. I’d love to hear your thoughts and discoveries. Happy tasting!